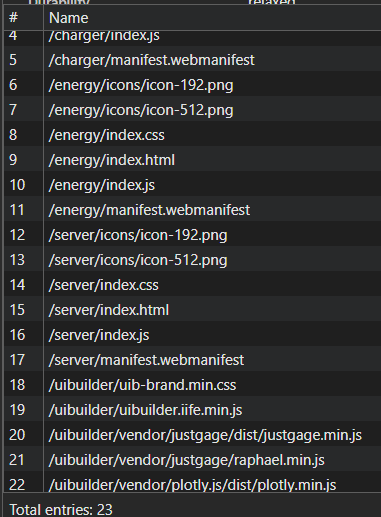
Whilst previously using dashboard 2, I liked the PWA feature, where a number of files were cached locally to ensure speedy loading, and of course dashboards opened full screen. As of now though, I'm using UIbuilder, and have implemented PWA for my dashboards, so I'm posting the process so others may wish to use it also.
It works really well, and is fairly easy to implement, as all of the changes are made in your .node-red/uibuilder/<your project>/src/ directory
- add this to html head section in
index.html;
<link rel="manifest" href="./manifest.json">
<meta name="theme-color" content="#003366">
- Create a
manifest.jsonfile containing this code, and place in...src/
Change the name & short name to your own site name, and optionally change the background & theme colors.
{
  "name": "Home Energy",
  "short_name": "Energy",
  "start_url": "./index.html",
  "display": "standalone",
  "background_color": "#000000",
  "theme_color": "#000000",
  "icons": [
  {
    "src": "icons/icon-512.png",
    "sizes": "512x512",
    "type": "image/png"
  },
  {
    "src": "icons/icon-192.png",
    "sizes": "192x192",
    "type": "image/png"
  }
]
}
- Create & add 2 icons to .
..src/icons
Easiest way I found was to ask ChatGPT to create an icon, according to your wishes. For example " Create an icon to represent home energy usage, using red and blue only, a modern stylish design with a transparent background". Then when you're happy, resize it to the sizes below, and place them in your /icons directory.
icon-192.png //Size 192px x 192px
icon-512.png //Size 512px x 512px
- Create a new file in
.../srccalledservice.worker.jscontaining the below;
const CACHE_NAME = 'uibuilder-cache-v1'
const ASSETS_TO_CACHE = [
  './index.html',
  './index.js',
  './index.css',
  './manifest.json',
  '../uibuilder/uibuilder.iife.min.js',
  '../uibuilder/uib-brand.min.css',
  './icons/icon-512.png',
  './icons/icon-192.png'
]

// Install event: cache static assets
self.addEventListener('install', event => {
  event.waitUntil(
    caches.open(CACHE_NAME).then(cache => {
      return cache.addAll(ASSETS_TO_CACHE)
    })
  )
})

// Activate event: cleanup old caches if needed
self.addEventListener('activate', event => {
  event.waitUntil(
    caches.keys().then(keys =>
      Promise.all(keys.filter(k => k !== CACHE_NAME).map(k => caches.delete(k)))
    )
  )
})

// Fetch event: respond with cache first, then network fallback
self.addEventListener('fetch', event => {
  event.respondWith(
    caches.match(event.request).then(cached => {
      return cached || fetch(event.request)
    })
  )
})
- and finally, add the below code to your
uibuilder's index.jsfile;
if ('serviceWorker' in navigator) {
    window.addEventListener('load', () => {
        navigator.serviceWorker.register('./service-worker.js')
            .then(reg => console.log('Service worker registered:', reg.scope))
            .catch(err => console.error('Service worker error:', err))
    })
}
Refresh your browser, and you should (with most browsers!) have an invitation to install the dashboard as an app. (The icon shown is what AI created)