TrueMote - a true Logitech Harmony remote replacement, for me at least :')

This has been some months of work, mostly think-work. Bear with me ![]()
For a number of years I have been searching for the 'ultimate' remote control and they don't seem to exist. I have been using the Logitech Harmony Ultimate for a long time, but the battery consumption was too high which got annoying, plus their support no longer exists unfortunately. I have the hub which I still use, it has a nice API via which stuff can be controlled.
After I gave up on the search, I come across this wonderful device from Waveshare - the ESP32-S3-Touch-LCD-2, which has so many useful features - an IMU (gyro/accelerometer), capacitive touch, battery charging circuit, 16MB flash, 8MB PSRAM and ofcourse Wifi and BT. After ordering a couple of them (they are like €16) I started some experimentation, it ended up to be a rabbit hole, but I have now have a remote control ![]() from which I can fully control anything and make it look/function the way I want, with ofcourse: Node-RED and Home Assistant.
from which I can fully control anything and make it look/function the way I want, with ofcourse: Node-RED and Home Assistant.
Although it is not a remote control as in the classical infrared sense, but fully controlled using MQTT.
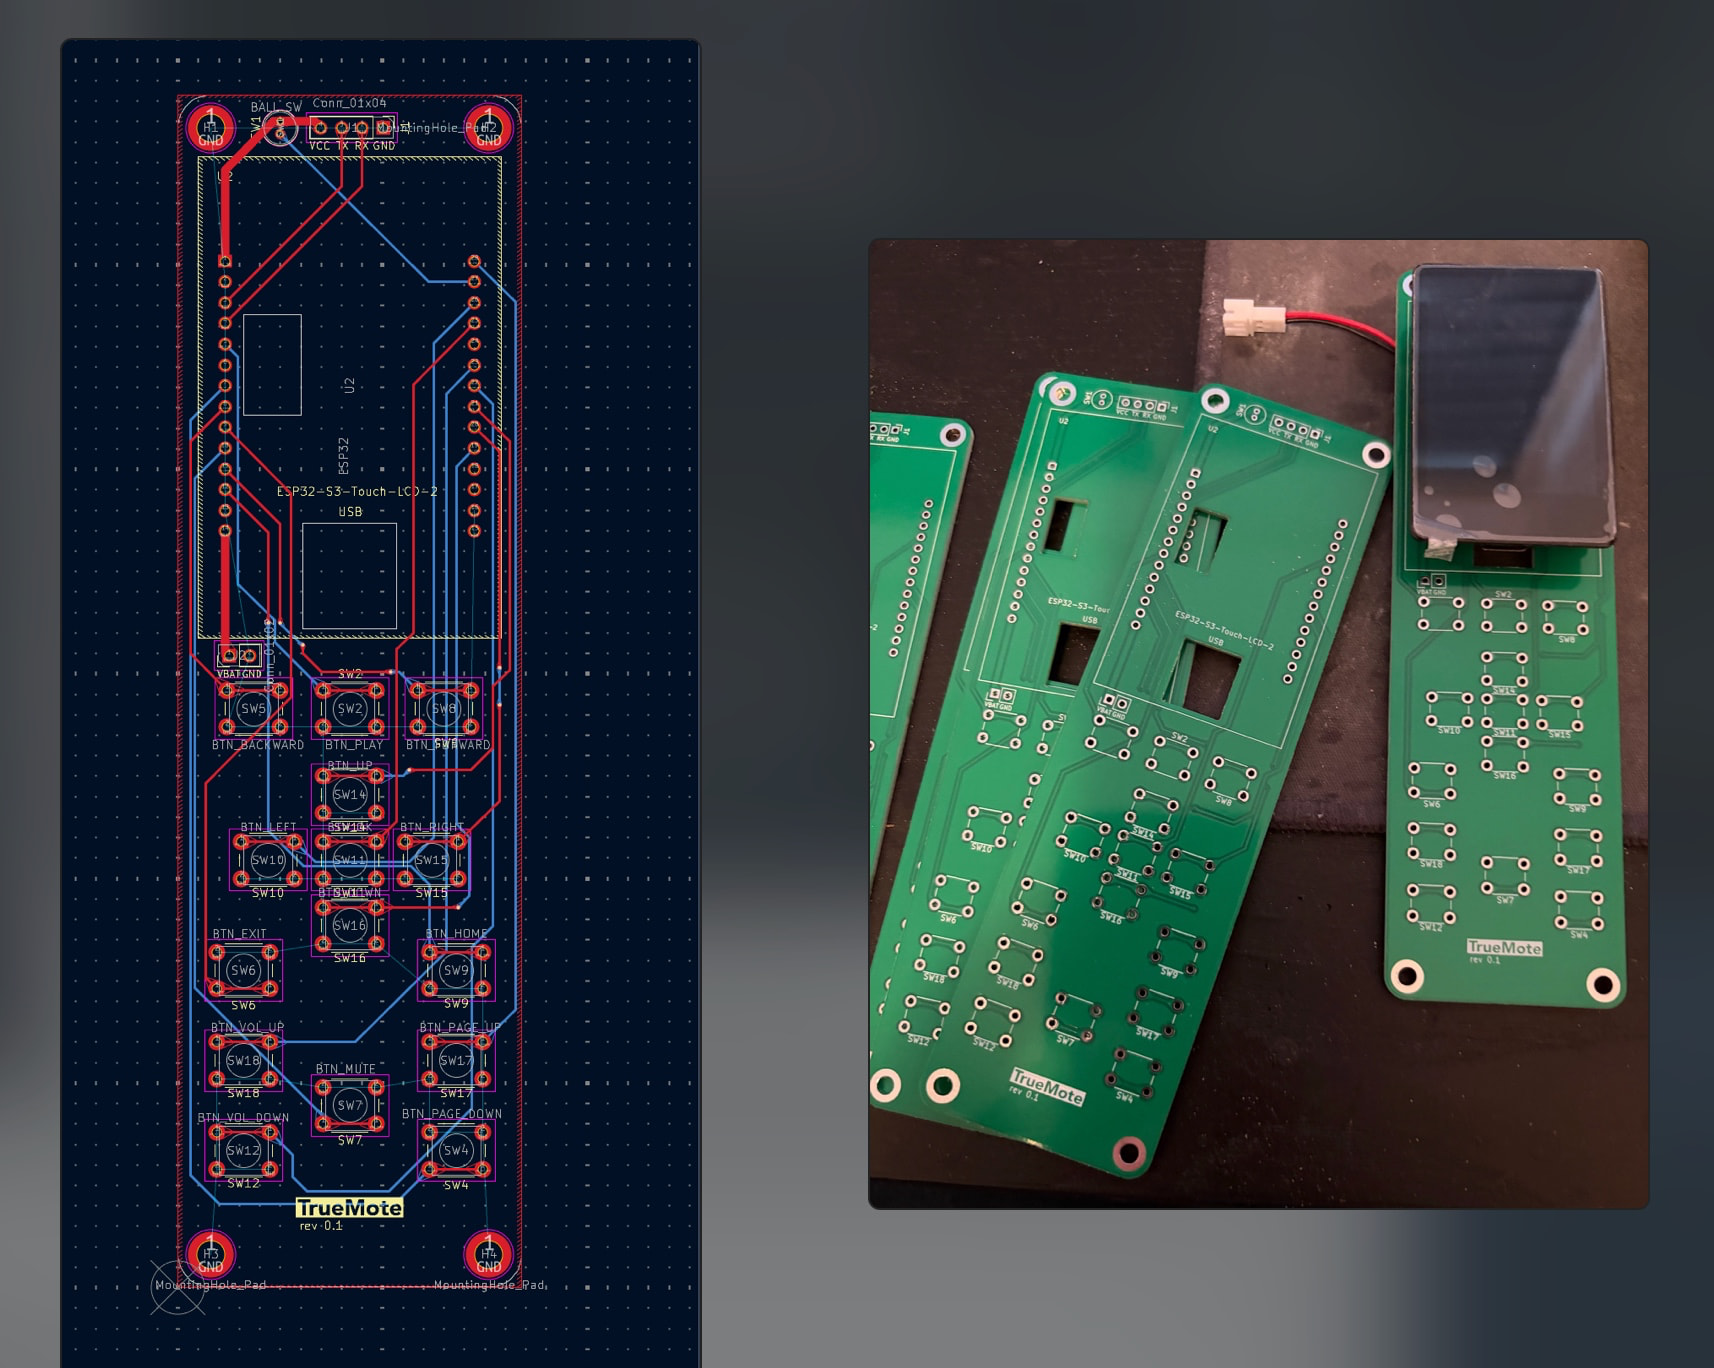
I experimented with breadboard layouts and prototype boards, it was too finicky to make it fit into a neat package, so the next rabbithole: let's try to make an actual PCB (using KiCad) - I have no skills or knowledge with electronic design, but i managed to design a PCB that actually turned out to be working (!) once it was manufactured in China.
Quite impressed with myself to be honest haha, but already learned from the many mistakes along the way (which is a great part of the journey).
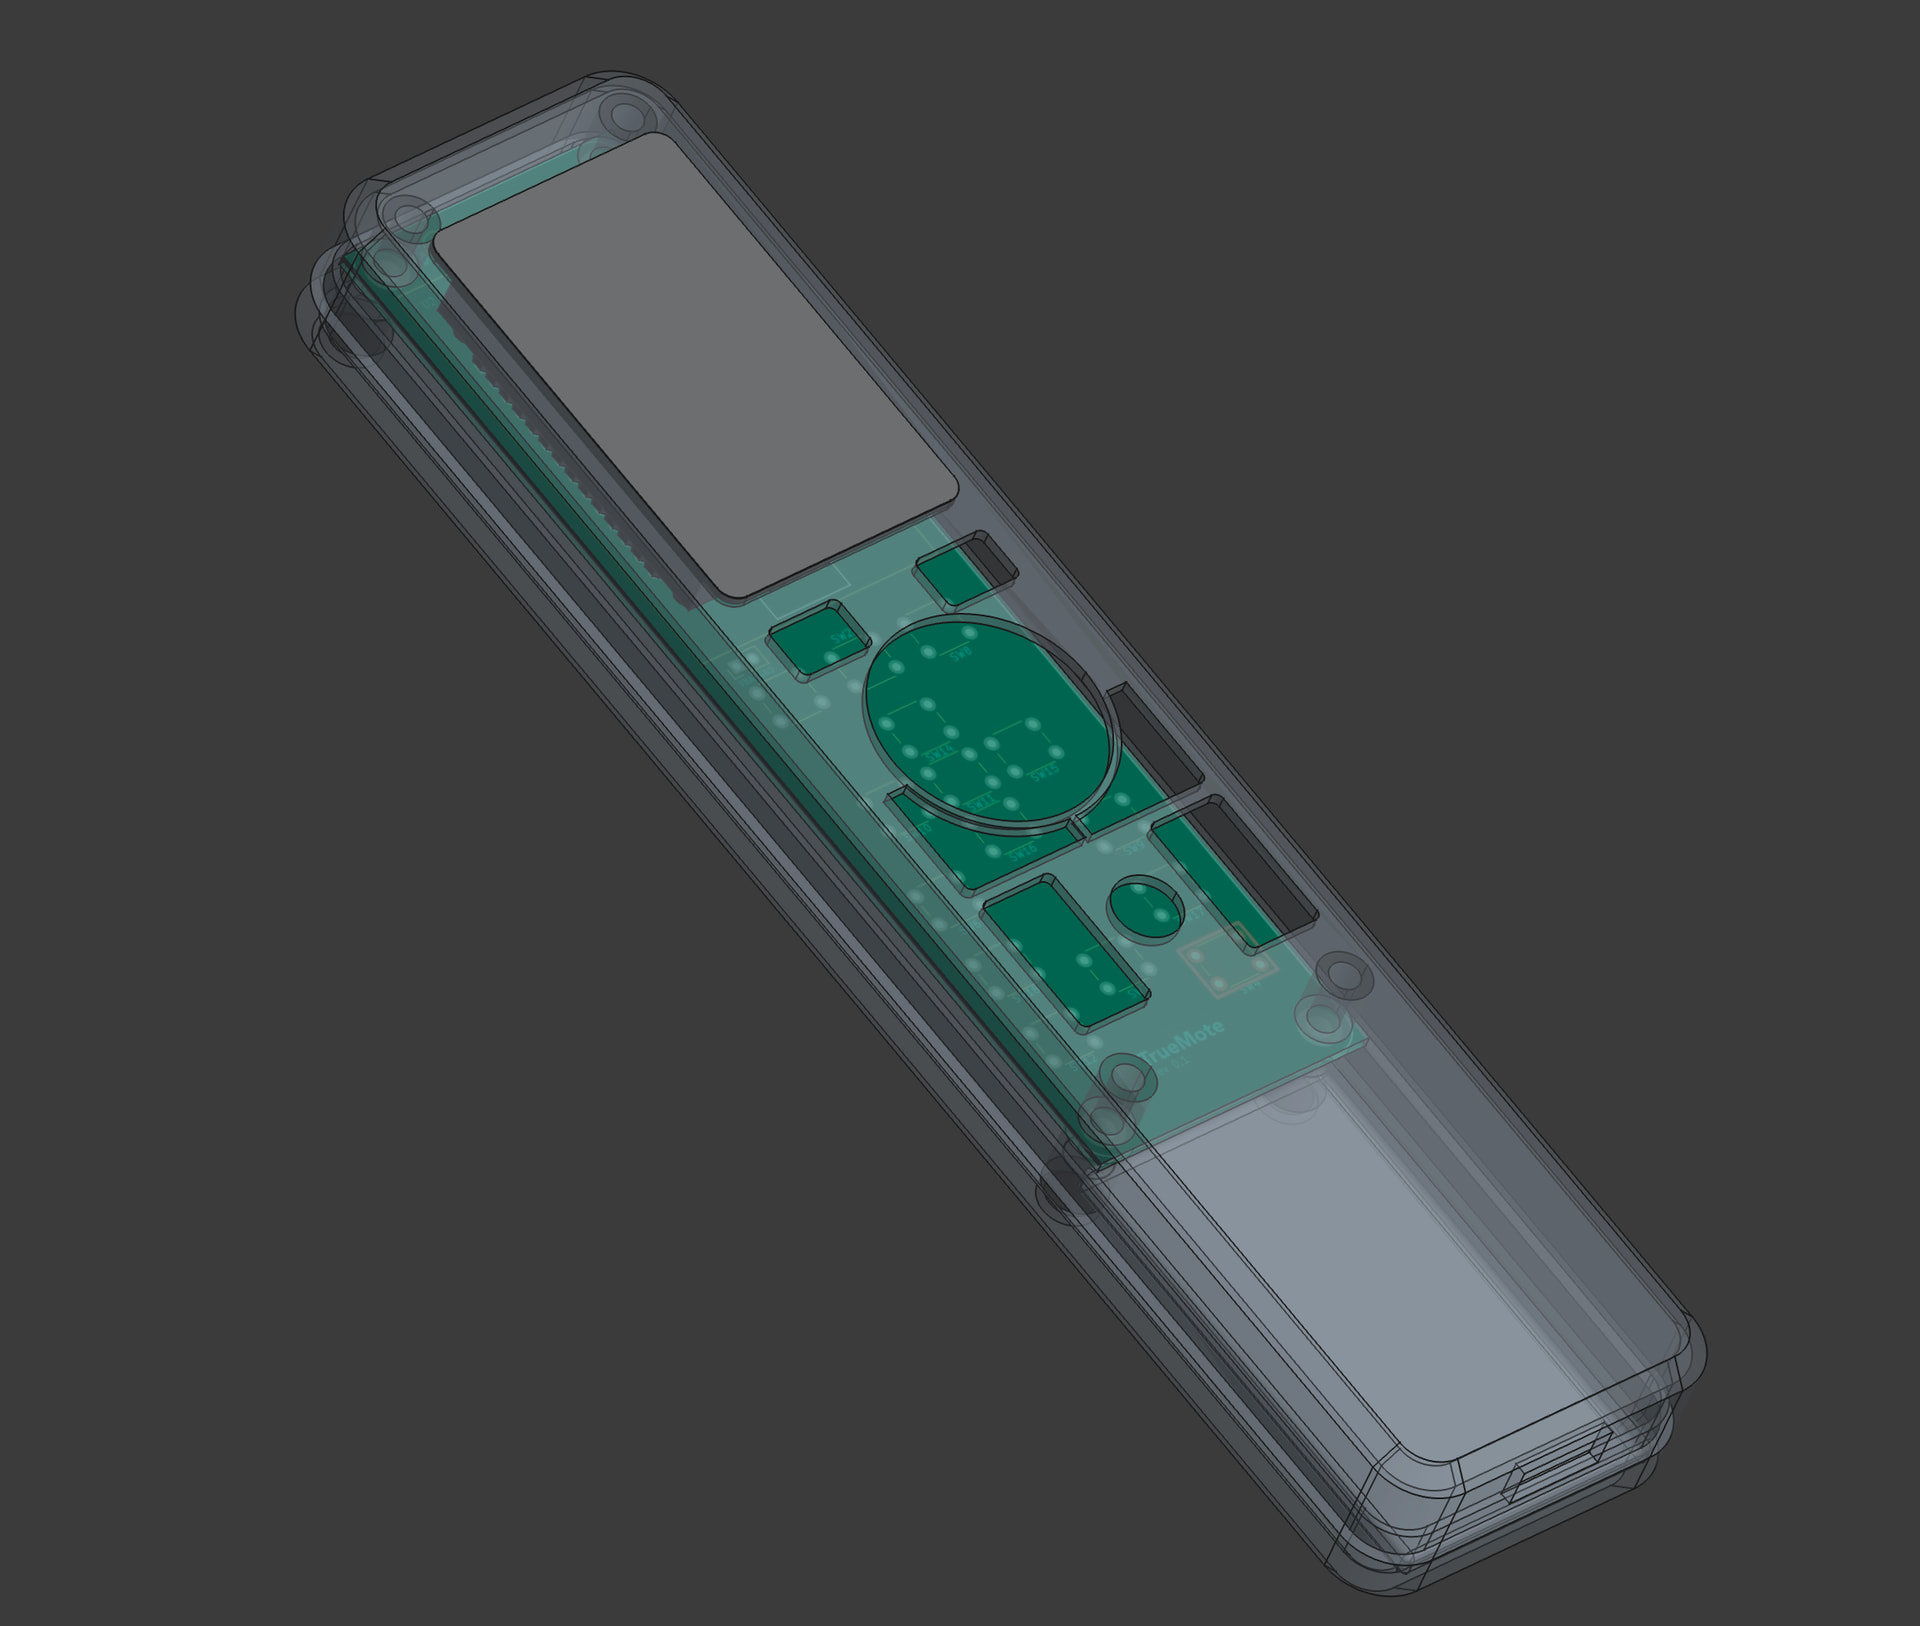
Next, I had to design a case that would fit everything (using FreeCad), a lot of trial and error designing and 3d printing, but I have a fully functional prototype with a USB port for charging.
So what does this thing actually do:

It runs a webserver that lets you design your own interfaces using drag & drop of widgets, it is completely customizable and the way it does it might sound a bit janky, but it works quite well:
Drag and drop widgets onto the canvas - (resizable), this could be a button, images (MQTT), labels, data values (MQTT), sliders, list widgets (MQTT), charts (MQTT), press save and it will create a screenshot for the elements that cannot easily be rendered using the arduino graphics library (like icons on a button) - it will capture every x/y/w/h position of each element, stores in a json config and the graphics library will render the remaining elements on top of the background image.

You can also receive images via MQTT straight in the web interface and save it as a background image for the interface (ie you can design your own dynamic interfaces and put 'invisible' buttons on top of it).


